If you want Lash Lift Kit Wholesale, you must want to know how to perm your eyelashes at home with Lash lift sets
For some girls with long eyelashes, seems they don’t need grafting lash extensions nor stick a strip lash, so lash lift would be a good choice for you, many girls ask how to use the lash lift set? So today Our lash will guide you to a simple handling at home.
Advantages:The eye can have lovely and moving feeling, maintain a month won’t collapse and curl radian is very natural, do not need eyelash curler at all, raised your appearance level greatly.
Disadvantages:If the operation fails, it will not be able to change for a month or so, so it must be carefully operated.
That’s to say one handling can keep around a month so it’s worth the try. To make everyone understand well I put the procedures on the picture, please see below:
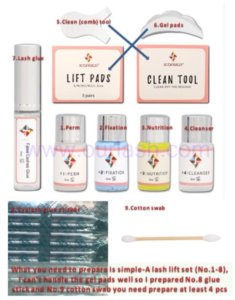
What you need to prepare is simple-A lash lift set (No.1-8), I can’t handle the gel pads well so I prepared No.8 glue stick and No.9 cotton swab you need prepare at least 4 pcs
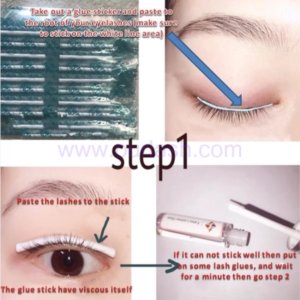
Take out a glue sticker and paste to the root of your eyelashes (make sure to stick on the white line area);
Paste the lashes to the stick;
The glue stick have viscous itself;
If it can not stick well then put on some lash glues, and wait for a minute then go step 2.
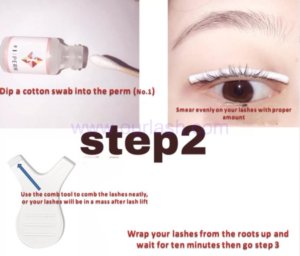
Dip a cotton swab into the perm (No.1);
Smear evenly on your lashes with proper amount;
Use the comb tool to comb the lashes neatly, or your lashes will be in a mass after lash lift;
Wrap your lashes from the roots up and wait for ten minutes then go step 3.
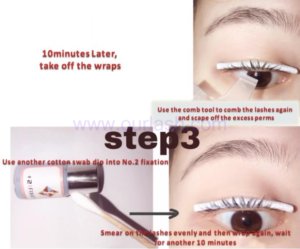
10minutes Later, take off the wraps;
Use the comb tool to comb the lashes again and scape off the excess perms;
Use another cotton swab dip into No.2 fixation;
Smear on the lashes evenly and then wrap again, wait for another 10 minutes.
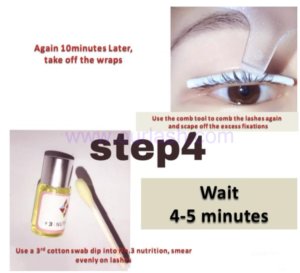
Again 10minutes Later, take off the wraps;
Use the comb tool to comb the lashes again and scape off the excess fixations;
Use a 3rd cotton swab dip into No.3 nutrition, smear evenly on lashes.
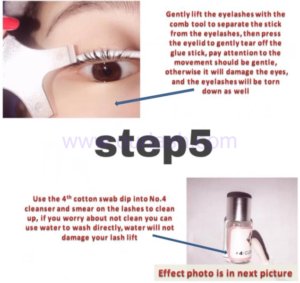
Gently lift the eyelashes with the comb tool to separate the stick from the eyelashes, then press the eyelid to gently tear off the glue stick, pay attention to the movement should be gentle, otherwise it will damage the eyes, and the eyelashes will be torn down as well;
Use the 4th cotton swab dip into No.4 cleanser and smear on the lashes to clean up, if you worry about not clean you can use water to wash directly, water will not damage your lash lift;
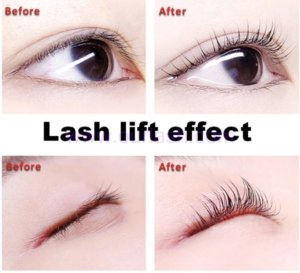
Let me end with a few caveats:
- Don’t take too much of each liquid and don’t put it in your eyes
- The silicone pad or stick should be pressed against the root and rolled up
- Don’t take too long or too short waiting time, especially too long
- Be sure to comb your eyelashes without disorder, or they will be destroyed if they burn out.
- Don’t worry about touching the water after your lash lift.
- Be wary if you’re easy to get allergies
Item name: Buy Lash Lift Kit Wholesale / Lash Lift Kits Professional from Lash Lamination Kit Vendors
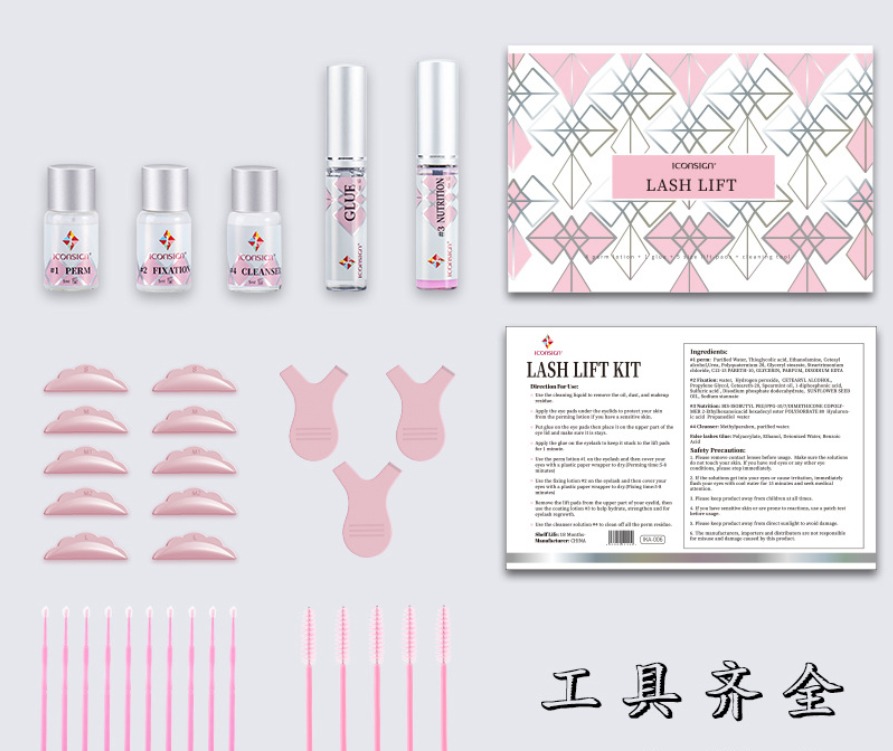
Direction For Use:
- Use the cleanser #4 to remove the oil, dust, and makeup residue
- Place under eye pads on the lower eyelids making sure all the bottom lashes are covered. This should separate the top and bottom lashes. Avoid the perm lotion touching the skin.
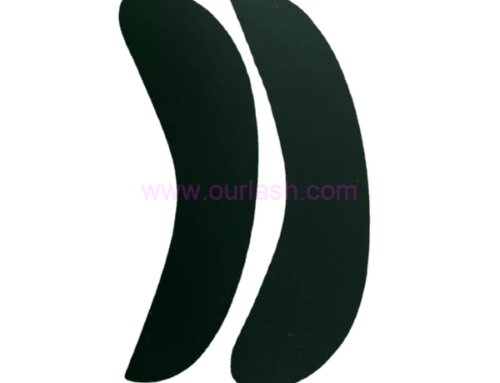
- Select the appropriate size lash lift pads(S/M/M1/M2/L) to match the length for your lashes. Tip: Small size, more curl
- Apply the glue to the back of the lash lift pads, wait for 20 seconds, and then put them on your eyelids. As close to your lash line as possible.
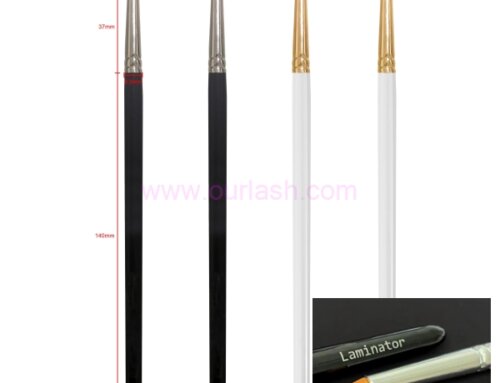
- Apply the glue to the front of the lash lift pads and then use a Y brush to lift the lashes from the root back onto the pads. The lashes should be aligned and not crossing each other. Top Tip: No need to put too much glue, it needs to wait for 30-60 seconds then put the lashes on.
- Use the perm lotion #1 on the eyelashes and then cover your eyelashes with a plastic wrap. (Perming time: 10—12 minutes)
- Remove the perm lotion #1 with Y brush,then apply fixing agent #2 on the eyelash and then cover your eyelash with a plastic wrap. (Fixing time: 10–12 minutes)
- Use the cleanser #4 to clean off all residue with the Y brush, wiping with the comb side.
- Remove the lift pads from the upper part of your eyelid, and then use the nutrition lotion #3 to nourish your eyelashes.
Description:
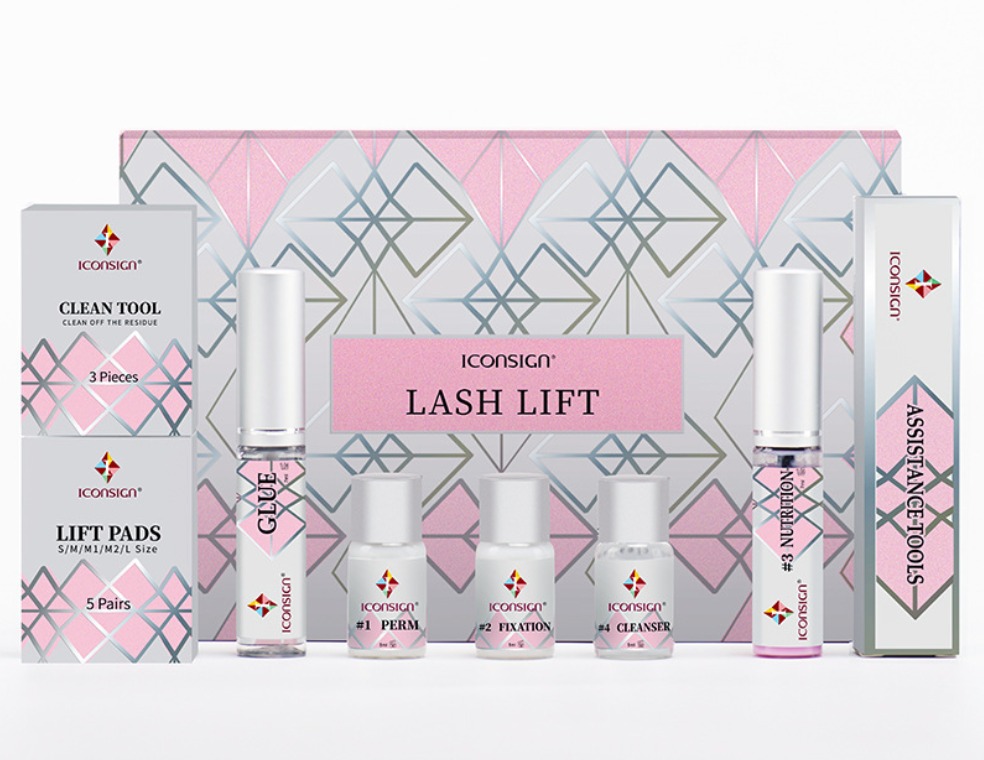
#1 Perm lotion: Soften eyelash, make eyelash according to the radian of patch roll become warped
#2 Fixed Lotion: Fixed eyelashes, eyelashes to keep curling
#3 Nourish Lotion: Nourish eyelashes, restore elasticity and luster to eyelashes
#4 Cleanser: Clean eyelashes and glue on the patches
Glue: Used to paste silicone patch on upper eyelid, eyelasheson the patches
Ingredients:
#1 Perm: Polyacrylamide, thioglycolic acid, propylene glycol, purified water.
#2 Fixation: Polyacrylamide, purified water, Propylene glycol, Methylparaben.
#3 Nutrition: Propylene glycol, Methylparaben, Collagen, purified water.
#4 Cleanser: Methylparaben, purified water.
False Lashes Glue: Polyacrylate, Emulsifying agent, Deionized water,
Ammonium sulfate.
Safety Precaution:
- Please remave contact lenses before usage. Make sure the solutions do not touch your skin. lf you have red eyes or any other eye conditions, please stop immediately.
- Lash lift kit only use for eyelash. If the solutions get into your eyes or cause irritation, flush your eyes with cool water for 15 minutes and seek medical attention immediately.
- Please keep product away from children at all times.
- If you have sensitive skin or are prone to reactions, use a patch test before usage.
- Please keep product away from direct sunlight to avoid being damaged
- The manufacturers, importers and distributors are not responsible for misuse and damage caused by this product.
Production date: as shown in the package
Shelf Life: 18 Months unopened, 3-5 Months after opened
Origin: CHINA
*** Maybe you also interested in Brow Lamination Kit
